Create a deck
- Brief it: what the deck is for, who it’s for, what it must land.
- The build runs in two steps — review the proposed structure first. Reorder, cut, say what’s missing.
- Approve the outline; Slyde writes the slides from your Brain on your theme’s layouts.
Be opinionated at the outline: changing it costs one read, while the wrong structure after forty written slides costs an afternoon.
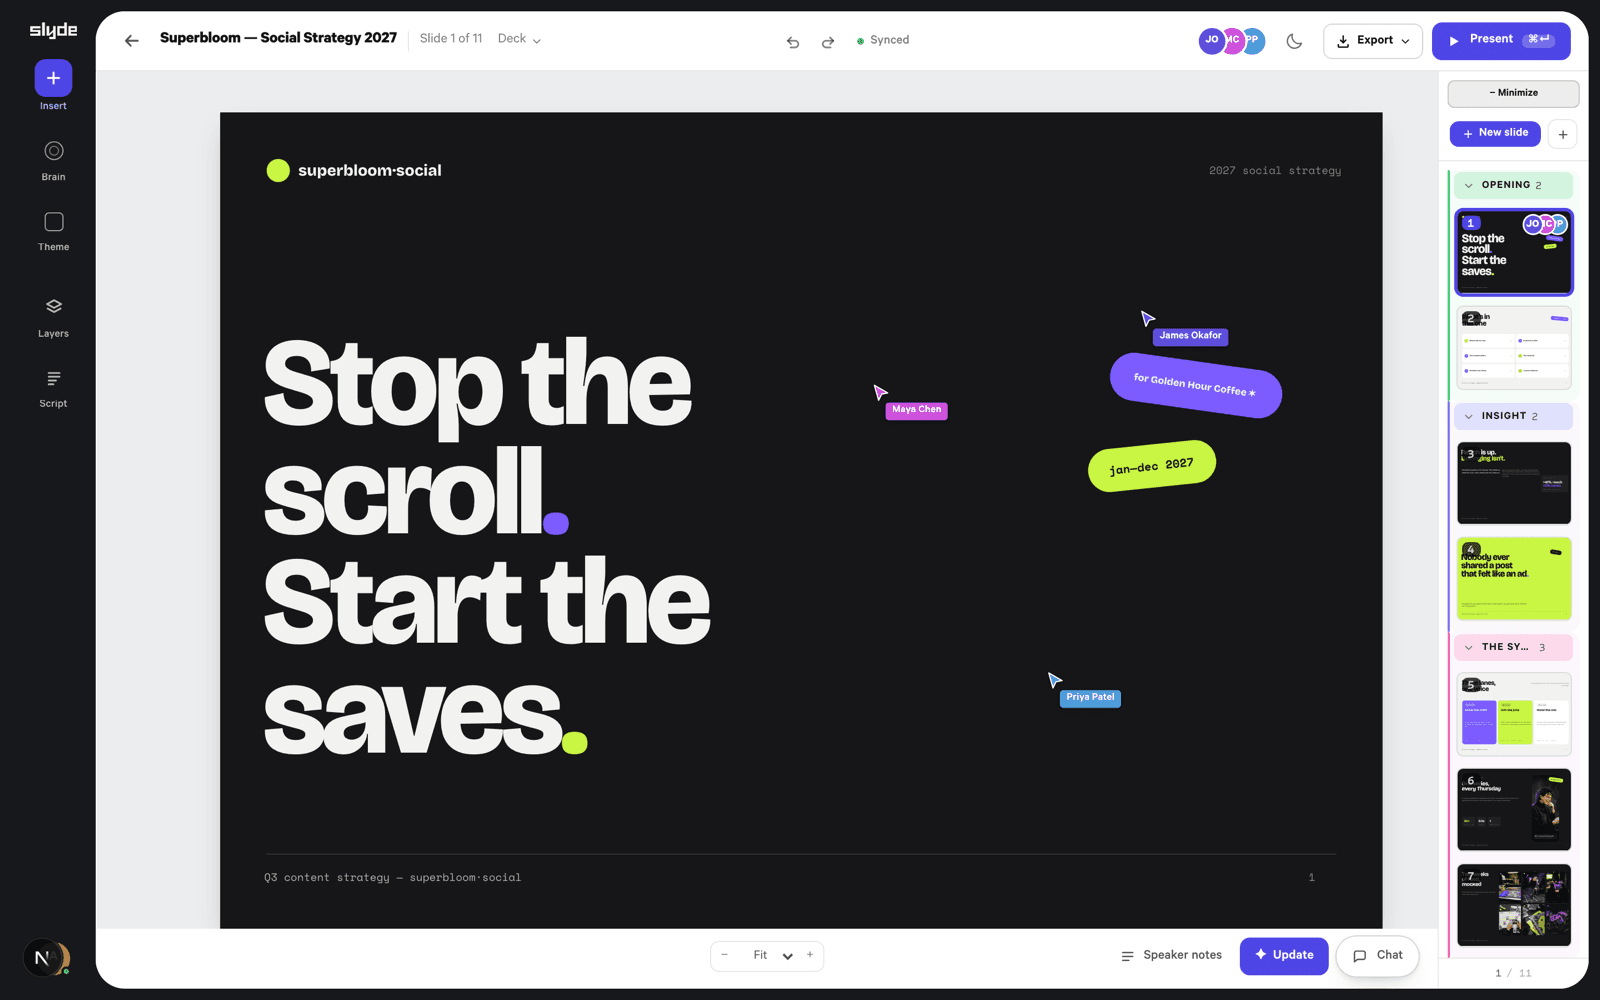
Direct changes: ✦ Update
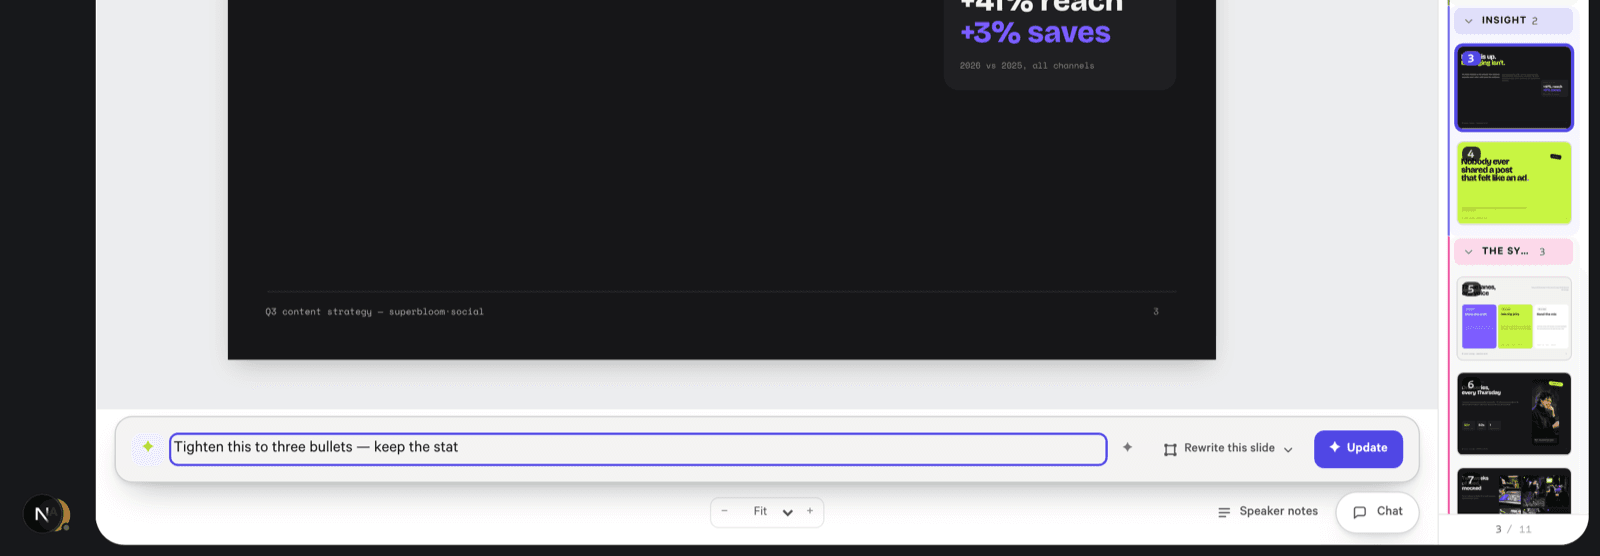
- Type the change into the ✦ Update bar: “tighten this to three bullets,” “make the tone more formal.”
- Set the scope chip: This slide or Whole deck.
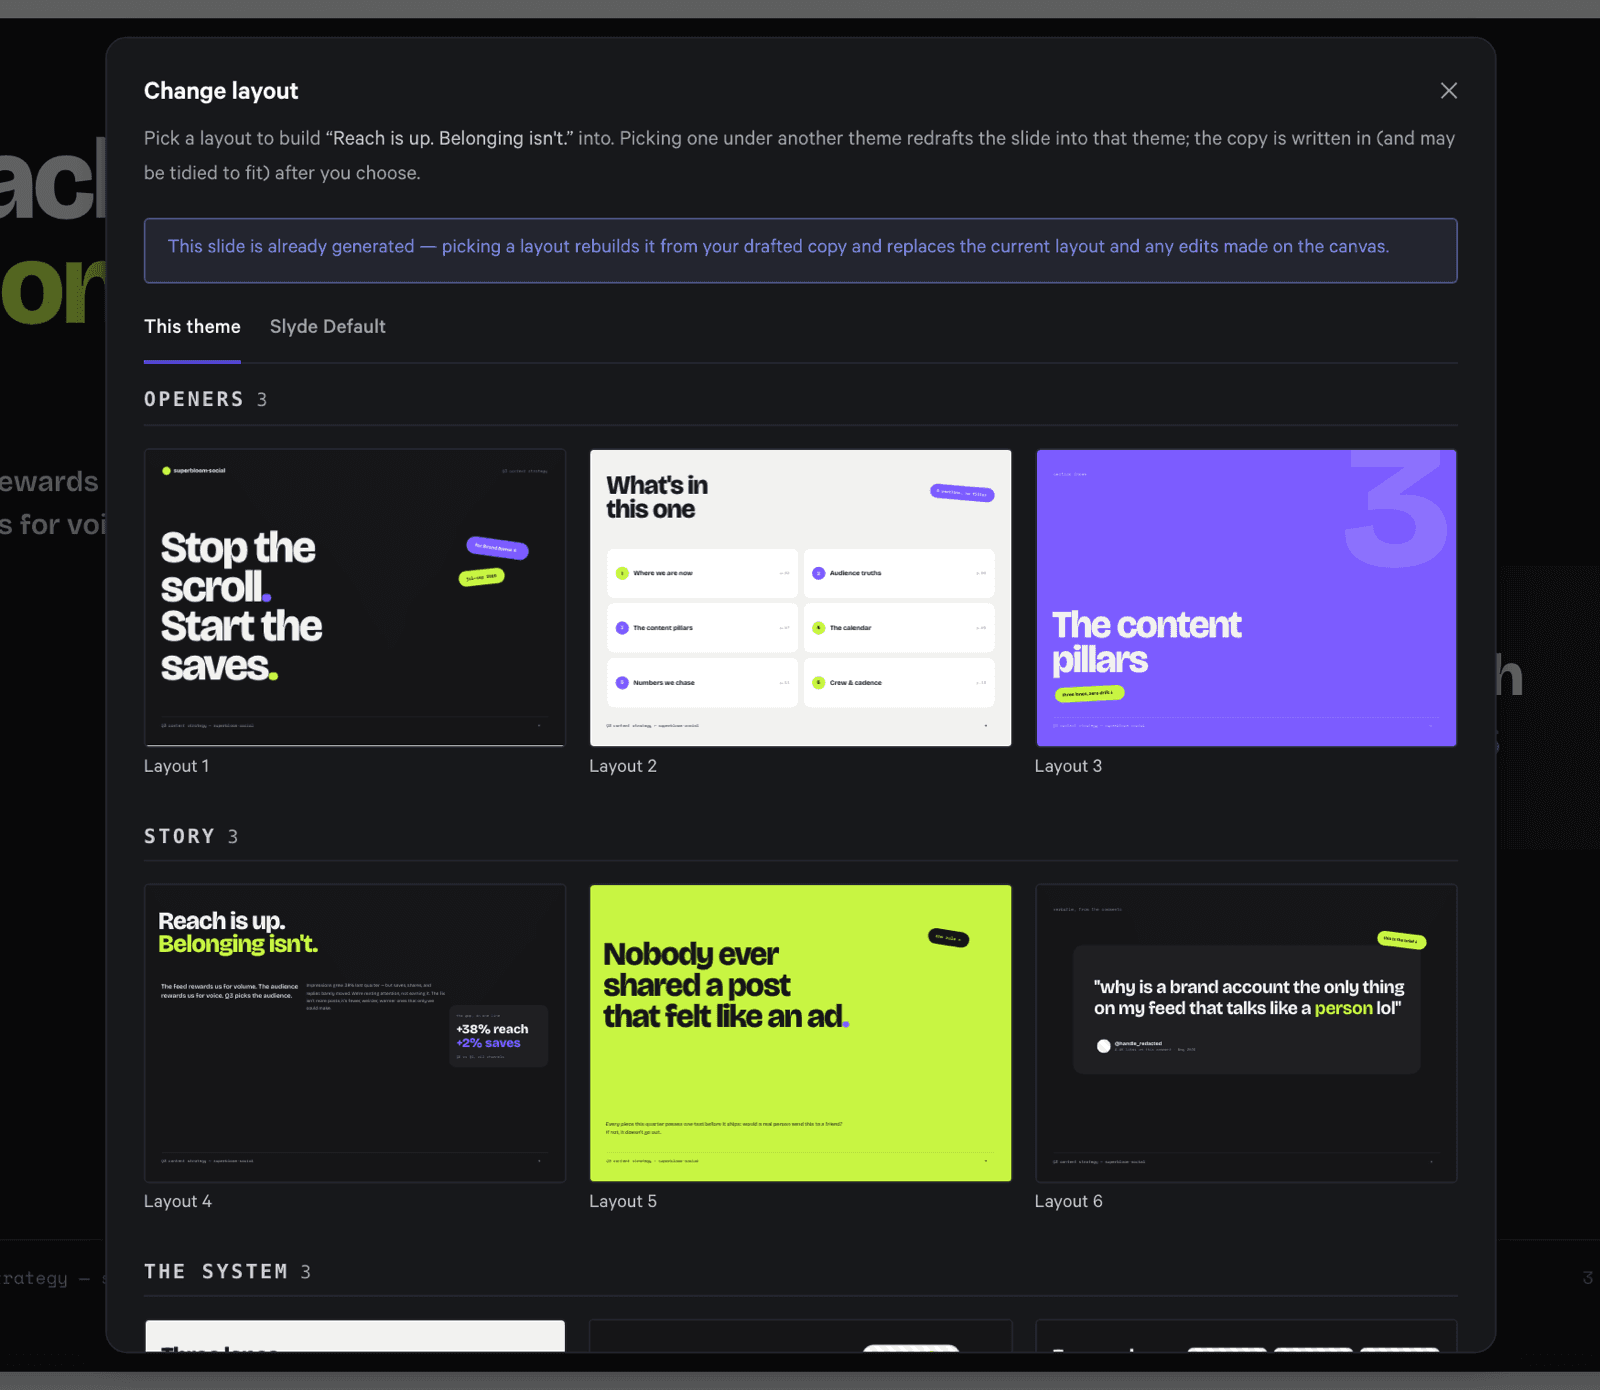
- Rewrite the copy, or pick Change layout — same bar, same instruction.
Updates draw on the Brain like the original build did — “add our retail results” pulls your actual retail results.
Design by hand
Everything on a slide is a real element. Smart guides snap to centers, edges and equal spacing as you drag; layers go forward and back; the Format inspector holds position, size, fill, stroke, radius and opacity. Bold opens a weight strip (Light through Black), fills can be gradients, any run of text can carry a hyperlink — and bullets, tables, shapes and video are all first-class elements.
Redraft a slide to any template
- Open the slide’s menu and choose Redraft slide.
- Pick a template — from your theme or any other in the workspace, browsed by section.
- The content carries over and is re-fitted: redrawn, not reskinned. You can always redraft back.
Images and media
- Drag files onto the slide — they land as elements. Drag from the workspace-wide image library the same way.
- Missing a visual? ✦ Create generates an image from a prompt.
- ✦ Edit image with AI fixes one in place — clear the background, extend the crop, change the mood.
- Right-click any image or video to download it.
Speaker notes
Every slide carries speaker notes, in the panel beside the composer. Generated decks arrive with notes drafted as a spoken script; while presenting, a keystroke shows or hides them on your screen.
Present and export
- Present — the pill in the header, or ⌘↵ — runs the deck full-screen with your notes at hand.
- PowerPoint export produces an editable .pptx: native text boxes and shapes, not screenshots on slides.
- PDF export gives you the flat, attach-anywhere version.