A theme is a master deck
A theme is a deck that other decks are made from. Its slides are your layouts; its styles are your look. A layout is not a mockup — it is a slide, built in the same editor with the same elements. If you can build a slide, you can build a theme.
The four doors
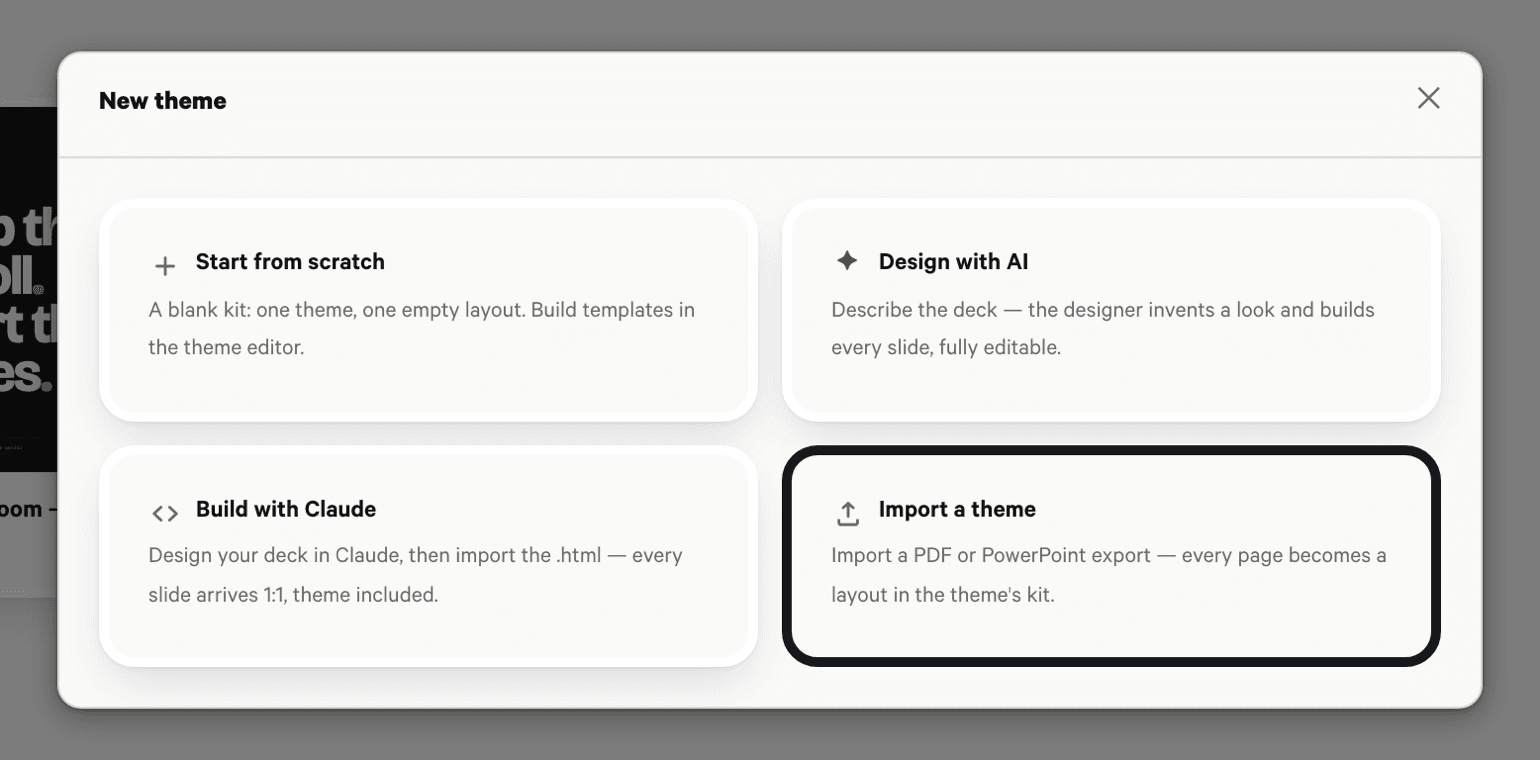
The new-theme dialog offers four ways in:
- Start from scratch — a blank kit, one empty layout. Build the templates yourself.
- Design with AI — describe subject, audience and feeling; the ✦ designer invents a look and builds every slide, fully editable.
- Build with HTML — design the deck in Claude, then import the .html. Slides arrive 1:1, theme included.
- Import a theme — bring a PDF or PowerPoint export; every page becomes a layout.
Set the look
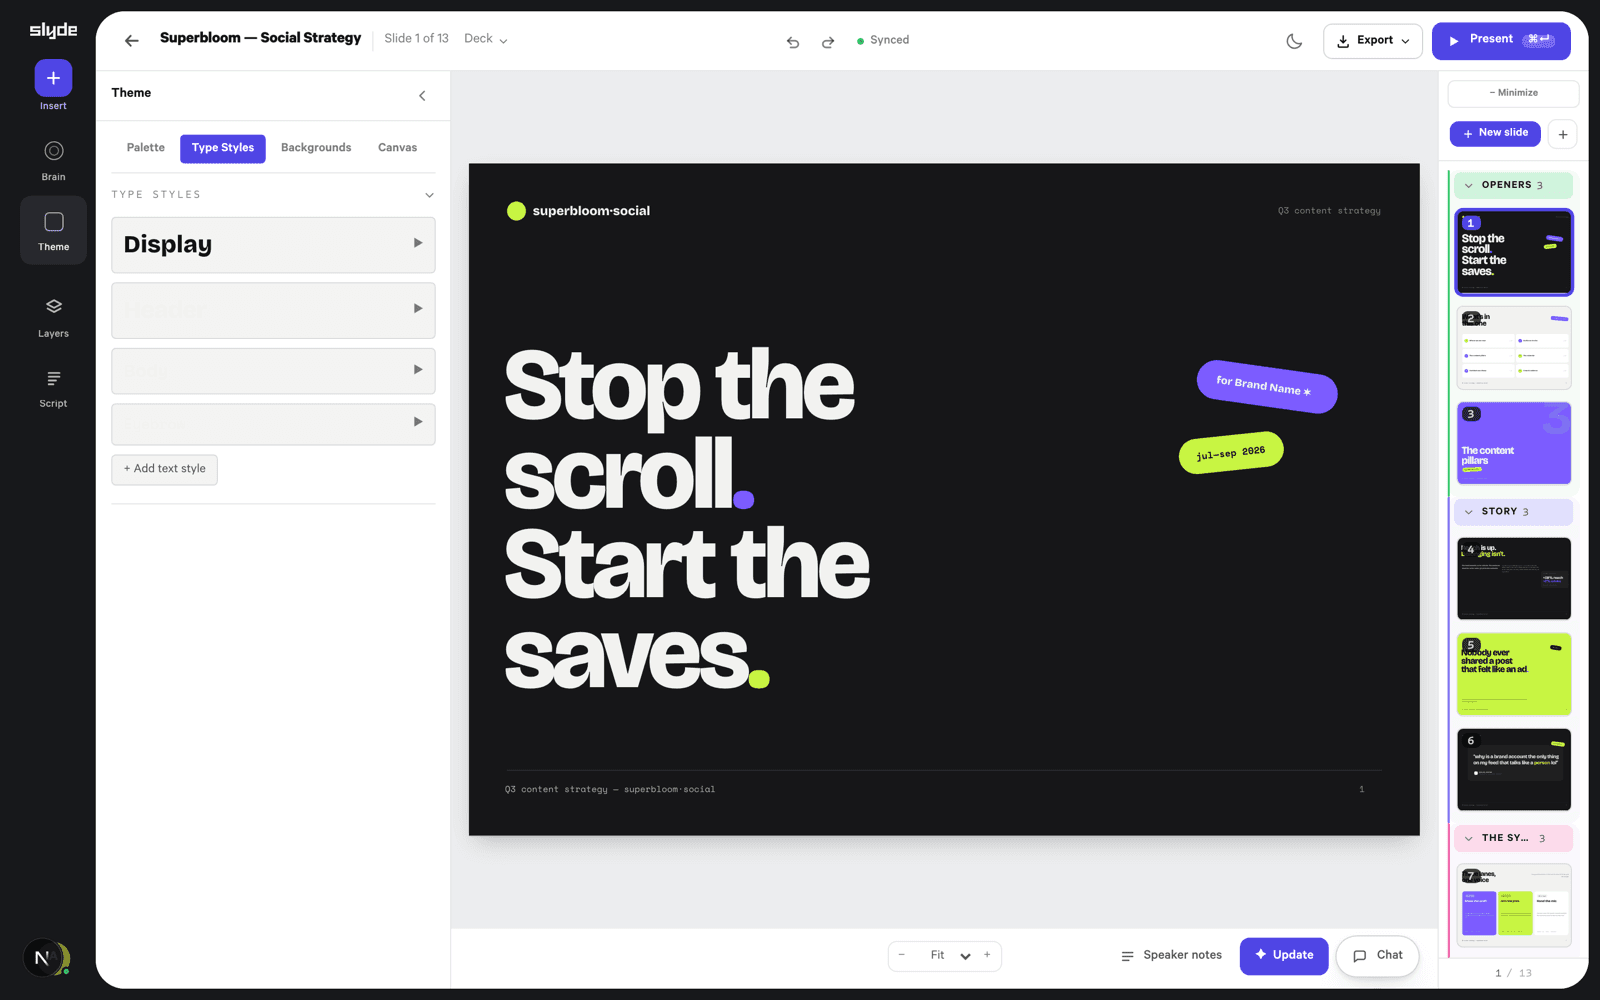
- Set type styles: per-category sizing for the fixed categories — titles, headlines, body, captions — plus your own named styles for recurring specials like the big stat or the mono eyebrow.
- Set the palette. Swatches are live references — elements hold “accent,” not a hex — so retuning a swatch retunes every slide. A late rebrand is one edit, not forty slides.
- Build the backgrounds library — flat grounds, gradients, image plates — that slides pick from.
- Set the canvas size: widescreen by default, or custom — A4, square — inherited by every deck on the theme.
Organize layouts into sections
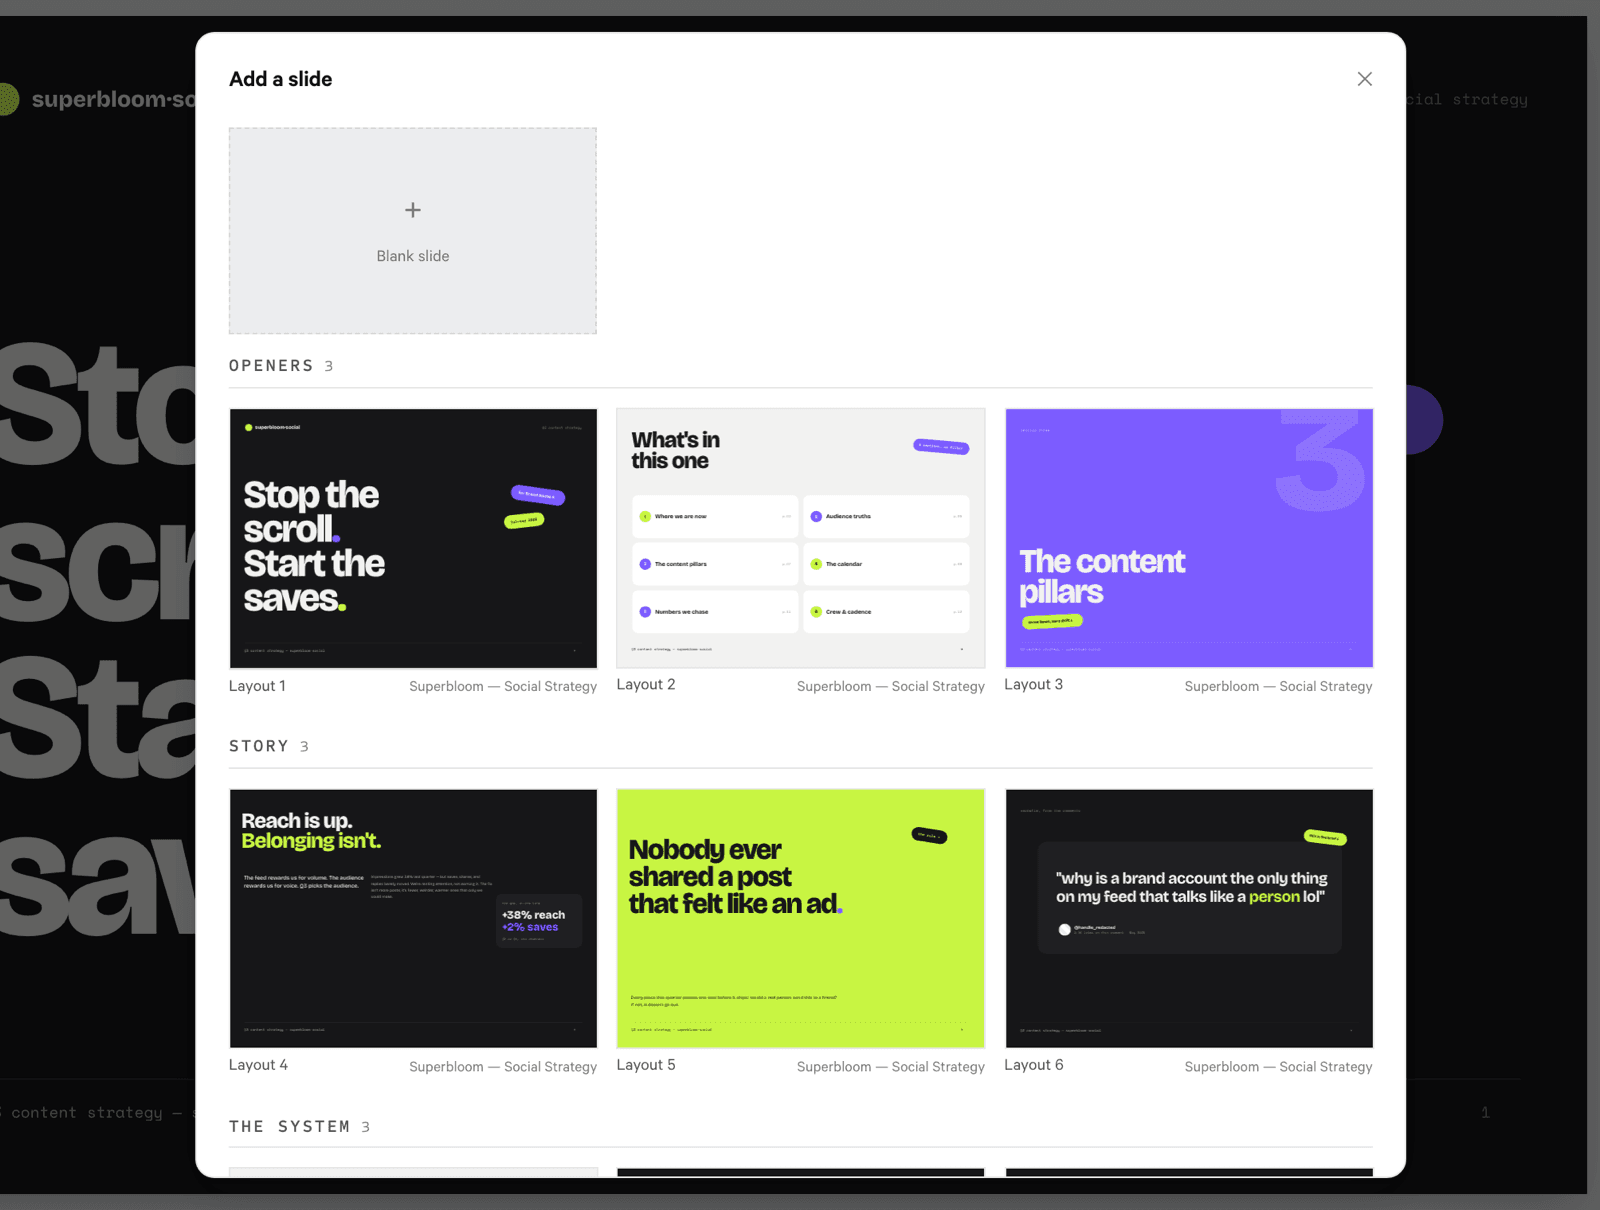
- Group your layouts into sections — Openers, Content, Data, Closers, whatever your deck grammar is.
- Name and order them the way your team thinks mid-deck (“I need a data slide”).
Sections become the tabs of every template picker your team sees — your categories, your order. An unsectioned theme makes every insert a scroll through everything.
Prioritize for auto-generate
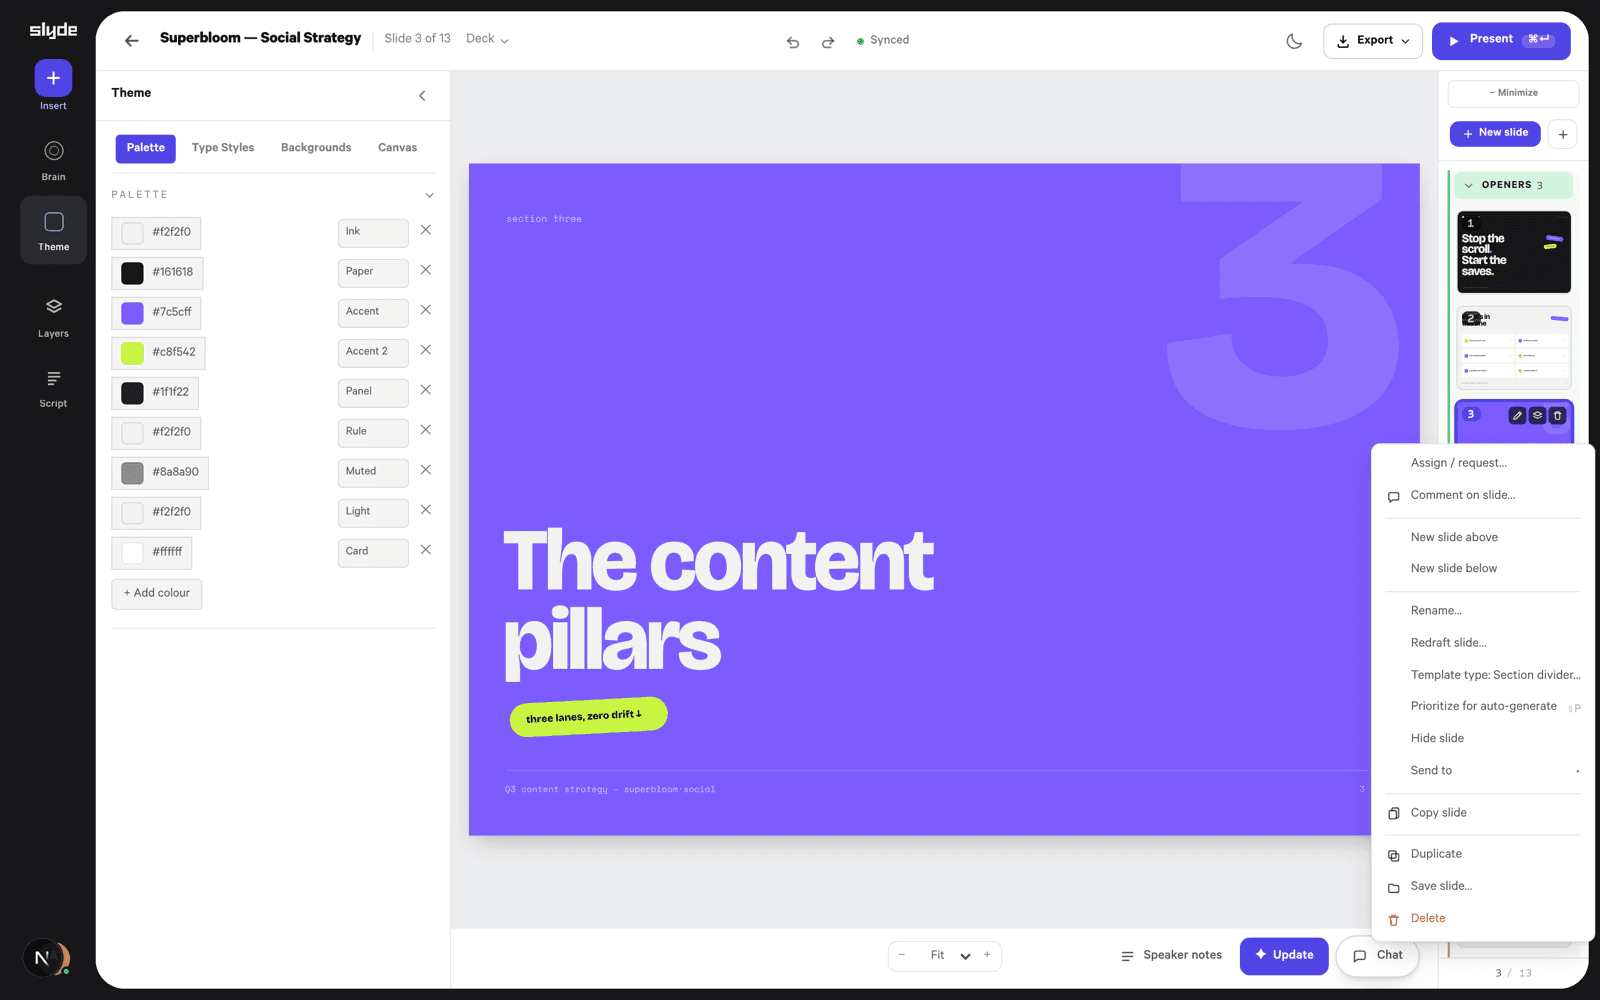
- Open a layout’s menu in the theme and choose Prioritize for auto-generate.
- Prioritize the layouts that show the system at its best; once any are prioritized, automatic builds draw from that set.
Keep the archive in the theme, prioritize the canon — auto-generated decks come out looking like your best work, not a tour of your history.
Duplicate a theme to another workspace
Duplicate a theme into another workspace to move a look — the whole master deck travels, layouts and all. The copy is independent from the moment it lands; changes flow in neither direction, so iterate in the client’s workspace without touching the original.